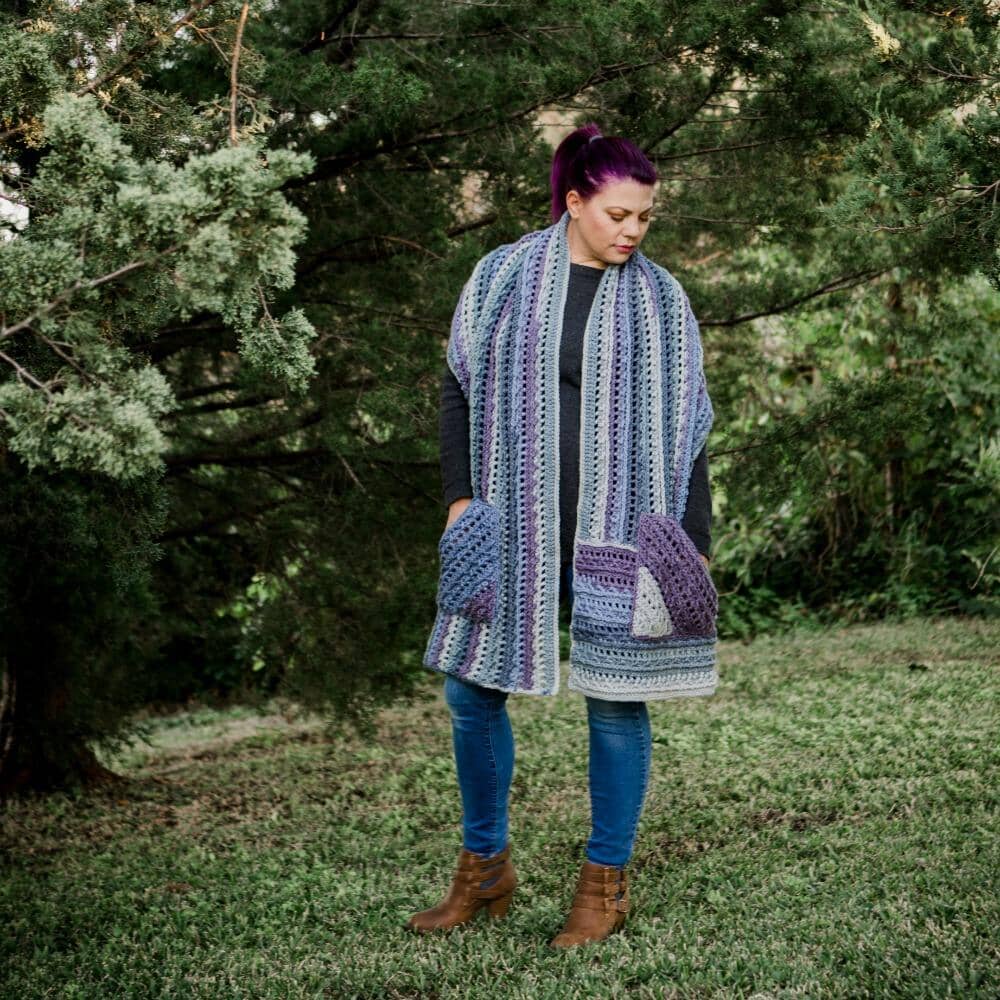
Week Two- Part One of the Rhapsody Vest
Hello friends. This week we are starting Part One of the Rhapsody Vest. This CAL will be completed in two parts. Next week we will work on finishing our vests.
Since you have three different length options and 3 different finish options, everyone's vests and the directions the follow, will be different.

Last week you learned the Rhapsody Lace stitch, met your gauge requirements, and entered to win a new 6.5mm/Mango Candy Shop hook and the yarn needed to make this vest. Winners can be found on last weeks post HERE.
The following part will be up to you. The pattern contains the correct amount of stitches for each size (width), however you will decide how long to work your vest. This part of the pattern will work up to right under your arms.
You can follow one of the length guideline that we have set- to right under your chest/breasts, to your hip or to the bottom of your rump, or you can make it any length you like. This vest would also look awesome as a duster.
You will want to make sure you end your length on a row 3 repeat in order to ensure you will start the rest of your pattern in the right place.
Next week we will add our arm openings and finish the entire vest, then we will work on the different finishing options.
See schematic for sizing
Note about sizing. This pattern will be available in sizes Small through 3x. Sizes adhere to the Craft Yarn Councils Standard Women's Measurements, which can be found HERE. This design has 1-2" ease*, which means it fits snug, if you want your vest to fit looser you should go to the next size for a looser fit.
NOTES
*Ch 3 is considered first dc.
*Pattern is worked from the bottom up. In part two we will separate for the sleeves.
*Pattern is written in size small, changes for medium, large, 1x, 2x and 3x are in parenthesis.

Add this pattern to your Ravelry favorites HERE
join our exclusive Facebook CAL group HERE
follow along in our Ravelry group HERE
PATTERN
Row 1: FDC 97 (109, 121, 139, 145, 157), ch 3, turn OR ch 100 (112, 124, 142, 148, 160), dc in 4th ch from hook, dc in each st to end <97 (109, 121, 139, 145, 157) dc>
Row 2: Dc in first dc (same st as turning ch-3), *skip 2 dc, [dc, ch 2, dc] in same st, repeat from * until 3 sts remain, skip 2dc, 2dc in last dc, ch 3, turn
Row 3: Dc in first dc (same st as turning ch-3), *skip 2dc, 3dc in next ch-2 sp, repeat from * until 3 sts remain, skip 2dc, 2dc in last dc, ch 3, turn
Row 4: Dc in first dc (same st as turning ch-3), skip next dc, dc in each dc across until 2-dc remain, skip next dc, 2dc in last dc, ch 3, turn
Repeat rows 2, 3 and 4 consecutively, ending on a row 3 repeat, until you reach the desired height from under your arms down.
This will be different for everyone, depending on your size, (where your bust ends, your hips begin or your bum ends), etc.
This section will end up resting about 2-3 finger widths down from your underarm. We will add an additional 6 (6, 7, 7, 9, 9) inches for the "sleeve" portion for the total length of the garment.
Having trouble?
Check out this video tutorial for the Rhapsody Lace Stitch

Join us next week where we will add the "sleeves". You will also choose your finishing option and complete your vest.


