

Crochet a vibrant unicorn in your favorite colors with this fun and free amigurumi crochet pattern.
Welcome everyone to our Amigurumi CAL - Molly The Magical Unicorn! Pull out your Furls Hook and Wander Yarn and get ready to hook up your very own Magical Unicorn!
Updated 3/4/2026

WHAT YOU NEED
- Worsted Weight Yarn (Note: Samples made in Red Heart Yarns (Red Heart Super Saver Yarn) shades (A)-Soft White, (B)-Minty, (C) Lemon)
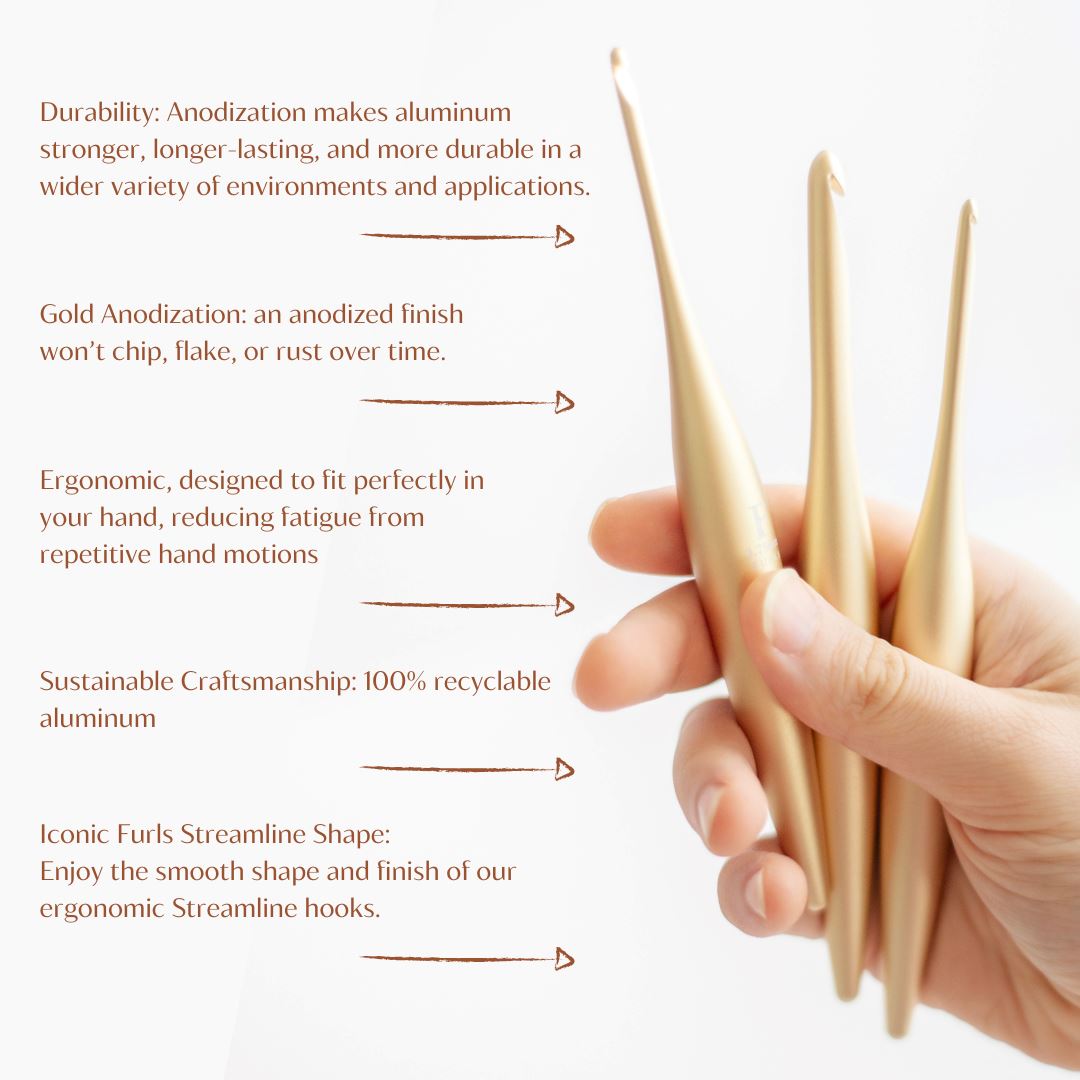
- Furls crochet hook, or other crochet hook in size C/2.75mm
- 7.5mm safety eyes
- Black embroidery thread
- Stuffing
- Scissors and a needle.
ABOUT THE PATTERN
Now, lets move on to what you've been waiting for, the Pattern! Part one of this CAL includes the head, ears, arms and horn!

This pattern is easy to follow. If you have crocheted in the round or created amigurumi in the past, then you should have no problems following this pattern.
Size: 10 inches tall
Abbreviations:
Ch = chain
Sc = single crochet
Inc = increase
Dec = decrease
Notes : All of the parts in this pattern are worked in a continuous round. Also please feel free to use a stitch marker to save your space while working this pattern. You can also use two stitch markers to mark where you will be placing your safety eyes! Now let's get started making your new magical little friend!

LET’S GET STARTED
Head
Rnd1: With (A) sc x 6 in a magic ring (6)
Rnd2: Inc x 6 (12)
Rnd3: Inc x 12 (24)
Rnd4: [Sc, inc] x 12 (36)
Rnd5-6: Sc x 36 (36)
Rnd7: [Sc x 5, inc] x 6 (42)
Rnd8: Sc x 42 (42)
Rnd9: Dec, [sc x 8, dec] x 4 (37)
Rnd10: Sc x 37 (37)
Rnd11: Sc, [sc x 3, dec] x 7, sc (30)
Rnd12: Sc x 30 (30)
Rnd13: Switch to (B) and sc x 30 (30)
Rnd14-15: Sc x 30 (30)
Rnd16: You will be placing the eyes in this round, sc x 11, place an eye in the last stitch you just did (or you can put a stitch marker on that stitch and come back later to insert the eyes), sc x 4, place an eye in the last stitch you just did, sc x 15 (30)

Rnd17-20: Sc x 30 (30)
Rnd21: [Sc x 3, dec] x 6 (24)
Rnd22-23: Sc x 24 (24)
Rnd24: [Sc x 4, dec] x 4 (20)
Rnd25: Sc x 20 (20)
Rnd26: Dec x 10 (10)
Rnd27: Stuff your head firmly and make sure the washers are attached onto your safety eyes, now dec x 5 (5)
Rnd28: Dec x 2 closed, now fasten off (2)

Ear (Make 2)
Rnd1: Starting at the tip of the ear with (B) sc x 6 in a magic ring (6)
Rnd2: Inc x 6 (12)
Rnd3: [Sc x 3, inc] x 3 (15)
Rnd4-5: Sc x 15 (15)
Rnd6: [Sc x 3, dec] x 3 (12)
Rnd7-8: Sc x 12 (12)
Rnd9: [Sc x 2, dec] x 3, now fasten off (9)

Arm (make 2)
Rnd1: Starting at the bottom of your arm with (A) sc x 6 in a magic ring (6)
Rnd2: Inc x 6 (12)
Rnd3: (Sc, inc) x 6 (18)
Rnd4: Sc x 18 in the back loops (18)
Rnd5: Sc x 2, (sc x 3, dec) x 3, sc (15)
Rnd6: Sc x 15 (15)
Rnd7: Switch to (B) and (sc x 3, dec) x 3 (12)
Rnd8-9: Sc x 12 (12)
Rnd10: Dec, sc x 10 (11)
Rnd11: Dec, sc x 9 (10)
Rnd12: Sc x 10 (10)
Rnd13: Dec, sc x 8 (9)
Rnd14: Dec, sc x 7 (8)
Rnd15-25: Sc x 8, fasten off at the end of Rnd25 (8)
Horn
Rnd1: With (C ) starting at the top of the horn sc x 6 in a magic ring (6)
Rnd2-4: Sc x 6 (6)
Rnd5: (Inc, sc x 2) x 2 (8)
Rnd6-7: Sc x 8, fasten off at the end of Rnd7 (8)

Body
Rnd1: Starting at the bottom of your body with (B) Minty yarn sc x 6 in a magic ring, or ch x 2 and sc x 6 in the second chain from your hook (6)
Rnd2: Inc x 6 (12)
Rnd3: Inc x 12 (24)
Rnd4: Sc x 24 (24)
Rnd5: [Sc x 5, inc) x 4 (28)
Rnd6: Sc x 28 (28)
Rnd7: Sc x 2, [Sc x 4, inc] x 5, sc (33)
Rnd8-11: Sc x 33 (33)
Rnd12: [Sc x 7, inc] x 4, sc (37)
Rnd13-16: Sc x 37 (37)
Rnd17: Sc, [sc x 5, dec] x 5, sc (32)
Rnd18-21: Sc x 32 (32)
Rnd22: Sc, [sc x 4, dec} x 5, sc (27)
Rnd23-27: Sc x 27 (27)
Row28-29: You will now be starting the neck area, turn, ch, sc x 20 (20)
Row30: Turn, ch, dec, sc x 16, dec (18)
Row31: Turn, ch, dec, sc x 14, dec (16)
Row32: Turn, ch, dec, sc x 12, dec (14)
Row33: Turn, ch, dec, sc x 10, dec (12)
Row34: Turn, ch, dec, sc x 8, dec, leave a long tail (which you will use to sew the body to the head of your unicorn) and fasten off (10)

Leg (make 2)
Rnd1: Starting at the bottom of your foot with (A) Soft White yarn sc x 6 in a magic ring , or ch x 2 and sc x 6 in the second chain from your hook (6)
Rnd2: Inc x 6 (12)
Rnd3: [Sc, inc] x 6 (18)
Rnd4: [Sc, inc] x 9 (27)
Rnd5: Do this round in the back loops, sc x 27 (27)
Rnd6: Sc, (sc x 3, dec) x 5, sc (22)
Rnd7: Sc, (sc x 3, dec) x 4, sc (18)
Rnd8: Sc x 18 (18)
Rnd9: Change to (B) Minty yarn and sc, (sc x 2, dec) x 4, sc (14)
Rnd10: Sc x 14 (14)
Rnd11: (Sc x 5, dec) x 2 (12)
Rnd12-14: Sc x 12 (12)
Rnd15: Dec, sc x 10 (11)
Rnd16-18: Sc x 11 (11)
Rnd19: Dec, sc x 9 (10)
Rnd20-21: Sc x 10 (10)
Rnd22: Dec, sc x 8 (9)
Rnd23-24: Sc x 9, at the end of Rnd24 leave a long tail (which you will use to sew your leg to your unicorn) and fasten off (9)
Assembly
Now we are going to assemble our new magical little friend! You will need your needle, stuffing, scissors, embroidery/cross stitch thread, and all of the unicorn parts you created. Start by making sure your head is stuffed firmly and weave in the end. Now sew the ears and horn onto your unicorn head, but make sure to leave a little space between the horn and each ear.

Stuff the body and line it up on the head, make sure the front of the neck lines up on the head where you switched from color (A) to (B), use dress making pins if necessary to keep the body and head in place while you sew the two pieces together. Add a little bit more stuffing into the body before sewing the head and body together completely.


Stuff the arms and legs, but be sure to not overstuff the arms, this will cause them to stick out from the unicorns body. Then sew the legs and arms onto your unicorn. Weave in all ends and trim them.


Cut long strips of yarn that you will use for hair on your unicorn. You will add hair around the horn on the top of your unicorn head, and down the back of the head. Where you would like to place hair insert your hook behind the post of the stitch and loop the yarn through. Then trim the hair to the desired length.


Now we will embroider on the eyebrows and nostrils. Using black embroidery thread insert your needle into any stitch around the eye area.

Pull the needle through two rows above the eye, this is where your eyebrow will start.

Now count over two stitches and down one row, pull the needle back through into the stitch where you first started. So you will now have both ends of the thread in one stitch.


Tie a knot, and trim the ends. Then use your scissors or the end of your hook and hide the ends inside your unicorn head.


Repeat this process for the nostrils, and using black embroidery thread sew on your nostrils. Now weave in any loose ends and trim them. And that's it, you now have your very own little unicorn!!!

Thank you everyone for taking part, and I hope you all enjoyed this CAL! I had a a lot of fun creating this design, and seeing everyone's little unicorns! If you haven't already come on over to the Fun With Furls Facebook Group to share photos of your unicorn and to connect with other crocheters, you can find the group here! And make sure to tag your photos of your little unicorns that you share with #furlscrochet, I would love to see them! Again, thank you to everyone for taking part in this CAL!! Should you have any questions about this pattern also please feel free to email me at amidorablecrochet@gmail.com.
Jackie :)